
- All
- Product Name
- Product Keyword
- Product Model
- Product Summary
- Product Description
- Multi Field Search
Views: 0 Author: Site Editor Publish Time: 2026-09-08 Origin: Site


You are pulling 80,000 pounds of freight down a 6% grade. You reach for a downshift, but the lever violently kicks back. Sound familiar? When a heavy-duty commercial truck rejects a gear, fleet managers and diesel mechanics know exactly what is at stake: catastrophic downtime. In robust vehicles equipped with manual transmissions, seamless shifting relies entirely on a single, highly precise component. That component is the synchronizer assembly.
This precision-engineered mechanical mediator acts as the critical bridge between rotating gears. It ensures they spin at the exact same rotational velocity before securely locking together. However, the relentless mechanical demands of hauling massive commercial loads inevitably take their toll on the drivetrain. Over time, constant friction, intense heat generation, and improper driver shifting habits severely degrade this vital assembly. Ignoring the subtle, early warning signs of wear can rapidly snowball into a catastrophic gearbox failure. What should have been a manageable, scheduled repair quickly transforms into a massively costly complete transmission overhaul.
Currently, the commercial trucking industry is experiencing a massive shift toward predictive maintenance. With supply chain constraints occasionally extending lead times for major overhauls, catching drivetrain degradation early is no longer just good practice—it is a critical survival strategy for modern fleets. This technical field guide breaks down exactly how to diagnose internal wear. From recognizing the very first acoustic signs of gear clash during a route, to performing a deep-dive visual inspection on the workbench, we will walk you through the essential steps to evaluate your Volvo gearbox parts and get your truck back on the road safely.
Identify Early Acoustic Symptoms: Audible grinding noises, increased shifting resistance, and the transmission spontaneously popping out of gear are the primary indicators of a failing assembly.
Rule Out Peripheral Factors: Before committing to a labor-intensive teardown, you must perform a structured road test. Eliminate variables like clutch drag, low hydraulic fluid, or misaligned pneumatic shift linkages first.
Measure with Precision: Once disassembled, accurate diagnosis relies on inspecting the hub for micro-wear. Look for blunted dog teeth and depleted friction cones using specialized measuring tools.
Address the Root Causes: Component failure is rarely spontaneous. Premature wear is typically driven by incorrect lubrication specifications, aggressive shifting habits, or failing adjacent bearings.
Maintain OEM Tolerances: When replacing components, utilizing precision-engineered, factory-matched parts is non-negotiable to ensure long-term operational reliability.
To accurately diagnose a mechanical failure, you must first understand how the component functions within the broader powertrain ecosystem. High-torque manual transmissions are globally renowned for their hauling durability. Despite their massive cast-iron construction, they rely on incredibly sensitive, friction-based synchronization to operate smoothly and prevent destructive gear clash.
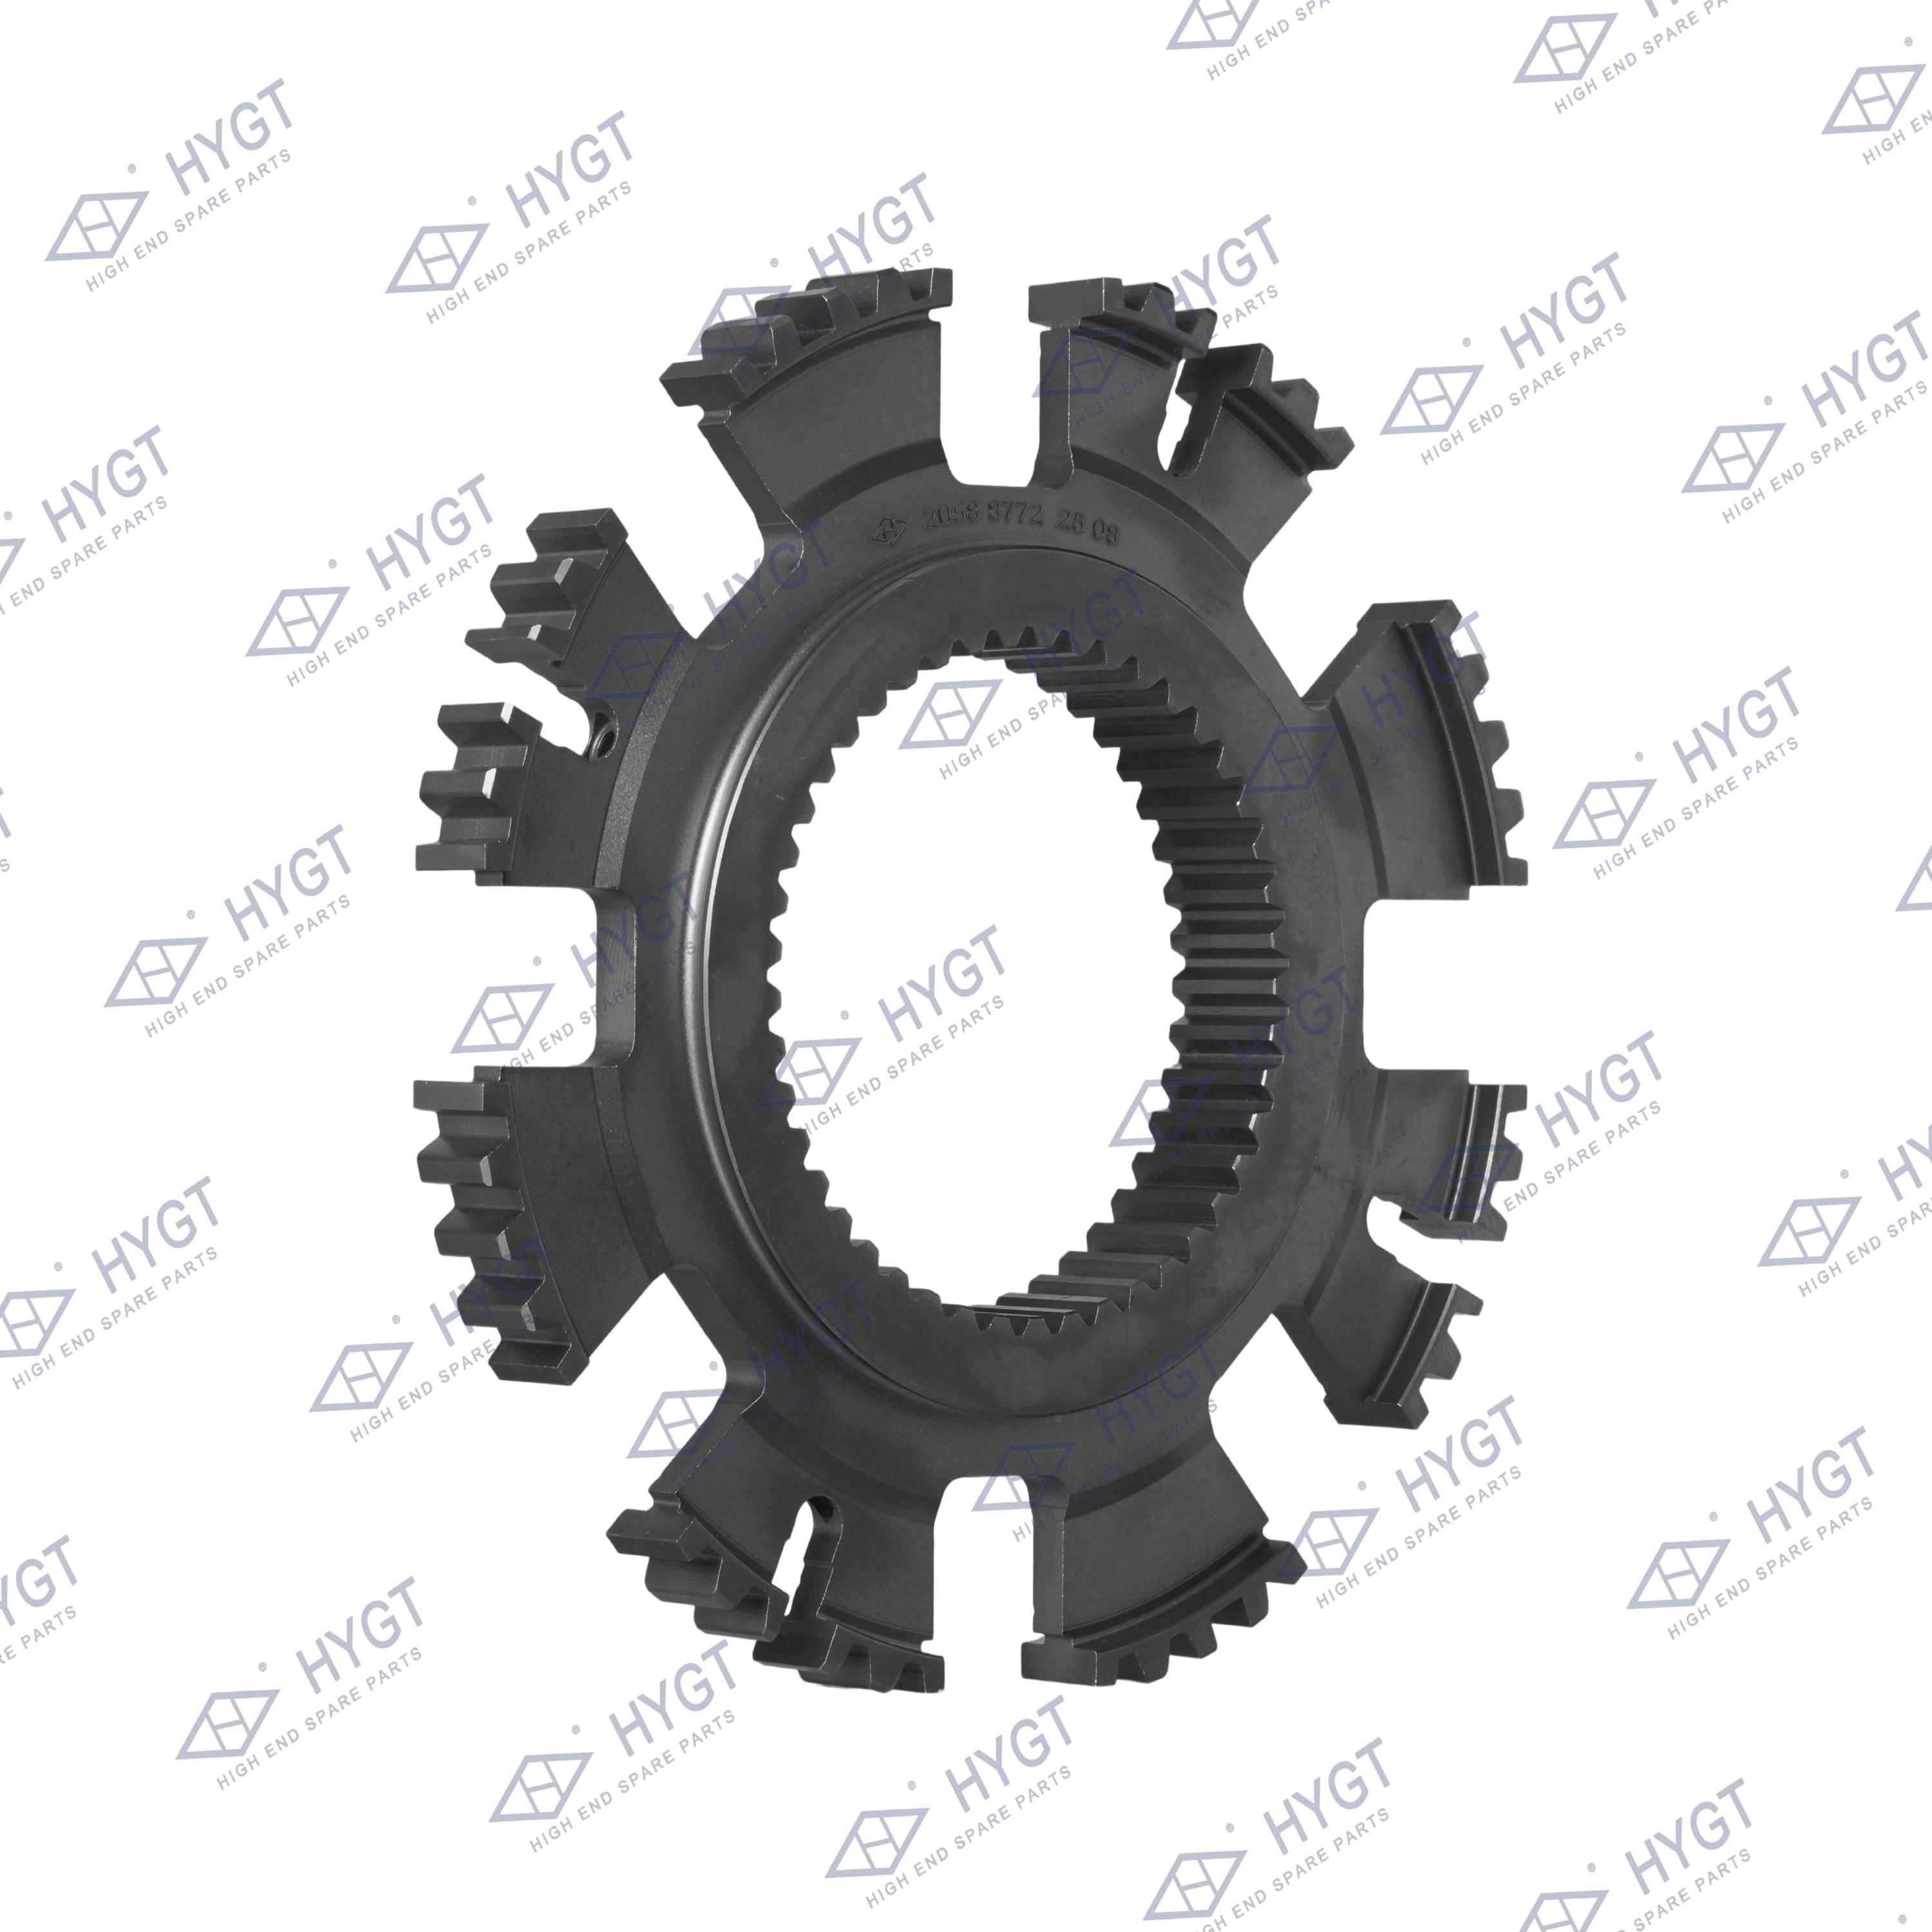
At the heart of this system lies the synchronizer hub. This precision-machined steel core is splined directly to the transmission's main output shaft. Its fundamental purpose is to act as a speed-matching mediator. When a driver actuates the shift lever, internal shift forks move the sliding sleeve against the synchronizer ring. The resulting friction generated between this brass or carbon-lined ring and the target gear's conical surface acts as a brake or an accelerator.
Once the rotational speeds of the gear and the main shaft are perfectly synchronized, the blocking mechanism releases. This allows the sliding sleeve to glide smoothly over the hub and lock onto the gear's engagement dog teeth. Because commercial vehicles routinely generate immense torque exceeding 1,800 lb-ft, this assembly must repeatedly absorb extreme thermal and kinetic energy. If the structural integrity or material composition of these parts degrades, the entire speed-matching process collapses.
Drivers serve as the primary sensors for transmission health. Their daily, tactile interaction with the vehicle allows them to detect subtle changes in shift feel. Translating these specific driver complaints into mechanical diagnostics is a critical skill for any heavy-duty technician.
Acoustic gear grinding is universally the most recognizable symptom of degradation. This jarring noise occurs when the friction ring fails to generate sufficient grip to equalize shaft speeds. Consequently, the internal splines of the sliding sleeve forcefully clash against the rotating dog teeth. As a technician, carefully note whether this grinding occurs during upshifts or downshifts. Downshifting demands significantly more friction to accelerate a heavy gear mass. Therefore, a grind that only occurs on downshifts is often the earliest red flag of a failing truck gearbox synchronizer.
Furthermore, a transmission spontaneously popping out of gear represents a severe safety hazard. If a vehicle violently slips into neutral without driver input—particularly under heavy engine load—it strongly suggests advanced internal wear. In a healthy gearbox, engagement teeth are machined with a slight back-taper. This taper actively pulls the sleeve tighter into gear under torque. When repeated grinding wears this back-taper flat, torque forces will naturally push the sleeve away from the gear.
In addition, unusually stiff shifting points to internal binding. This increased physical resistance at the shift lever often indicates that the internal struts, tension keys, or retaining springs have fractured. A broken spring jams the sliding sleeve, requiring the driver to exert excessive, unnatural force.
Tearing down a heavy-duty commercial transmission is a labor-intensive and expensive procedure. Consequently, objective diagnostics must always begin outside the gearbox. A systematic road test is absolutely essential to isolate the fault and rule out peripheral systems that perfectly mimic internal failure.
During the physical road test, you must cycle through all gears under varying load conditions to isolate the problem gear. Synchronizer wear is almost always gear-specific because each gear set features its own dedicated assembly. For instance, if grinding exclusively occurs when shifting from 3rd to 4th gear, your diagnostic focus narrows specifically to that single assembly.
In contrast, if the transmission grinds when shifting into every single gear from a complete standstill, the primary suspect is clutch drag. This occurs when the clutch fails to fully disengage the engine from the flywheel, overpowering the synchronizers with continuous rotational force. Before dropping the transmission, always evaluate external shift linkages and pneumatic systems. A leaking air line or a bent external shift rod can easily cause sluggish, binding shifts that closely resemble internal hesitation.
Once external factors are systematically eliminated, internal inspection becomes mandatory. The diagnostic process actually continues during the fluid evacuation phase. When draining the gear oil, catch it in a clean, shallow container and shine a bright LED flashlight into the fluid. A heavy suspension of golden or brass flakes indicates severe, active wear of the friction rings. Jagged silver or steel shards suggest catastrophic chipping of the gear dog teeth.
With the components isolated on a well-lit workbench, you must conduct a meticulous visual and dimensional inspection. Relying on simple visual estimates is a rookie mistake. Parts must be actively measured against published wear limits using calipers and feeler gauges.
Component | OEM Specification (Healthy) | Wear Indicator (Failed State) |
|---|---|---|
Friction Cone Clearance | Visible gap between ring and gear face (varies by spec, often > 1.5mm) | Ring bottoms out entirely on the gear face (Zero clearance) |
Engagement Dog Teeth | Symmetrical, sharp roof-like points with distinct back-taper | Blunted, rounded off, or heavily burred edges; flat taper |
Hub & Sleeve Splines | Perfectly parallel edges, smooth gliding action | "Stepped" wear patterns, binding or catching during travel |
Tension Springs/Keys | High tension, intact structure | Cracked keys, metal fatigue, allowing sleeve to float freely |
Press the synchronizer ring firmly onto the steel gear cone by hand. Using a precision feeler gauge, measure the clearance gap. If the measurement falls below the manufacturer's minimum specification, the internal friction material is entirely depleted. This specific failure is the leading cause of replacement for VT transmission parts.
Identifying a shattered component is only half of a successful diagnostic process. Determining exactly why it failed is crucial to preventing a recurrence. If you install brand new VTO transmission parts without addressing the underlying root cause, the fresh components will inevitably suffer the exact same premature death.
Human error remains the leading cause of premature wear. While modern synchronized manual transmissions do not require traditional double-clutching, many operators persist in using outdated techniques. "Float shifting" (shifting without depressing the clutch pedal) places immense, unnatural strain on the synchronizer rings. Additionally, drivers who habitually rest their hand on the shift lever inadvertently apply constant pressure to the shift forks, burning up the friction ring rapidly.
Specifically, the tribology within a manual transmission is incredibly delicate. Using standard GL-5 axle gear oil instead of the specified synthetic manual transmission fluid is a highly destructive error. GL-5 oils contain extreme-pressure additives that become corrosive to softer yellow metals at high temperatures. Furthermore, worn main shaft tapered roller bearings can allow the shaft to physically walk back and forth under load. This longitudinal movement misaligns the hub, forcing the sleeve partially out of engagement.
When a workbench diagnosis confirms that the assembly is beyond safe repair, sourcing highly reliable replacement parts becomes the final step. It is universally recommended by engineering standards never to mix old and new synchronizer parts. Because the friction ring, the sliding sleeve, and the hub wear together over thousands of miles, they develop a unique, matched wear pattern. Replacing just the brass ring while leaving a worn sliding sleeve creates mismatched tolerances.
When selecting replacement components, dimensional precision is paramount. Generic aftermarket components often fail to meet the rigorous metallurgical standards required for high-torque applications. For example, a premium replacement assembly—such as those matching OEM reference number 20588772—must feature precise carbon-forged steel construction to handle severe torque loads. The friction lining material must match factory coefficient of friction standards to ensure the sliding sleeve engages without hesitation.
Diagnosing internal synchronizer wear doesn't have to be a frustrating guessing game of trial and error. By paying close attention to driver feedback, conducting a structured road test, and actively measuring micro-wear indicators on the workbench, technicians can pinpoint transmission issues long before they result in highway breakdowns.
The synchronizer assembly truly is the beating heart of a manual heavy-duty gearbox. Maintaining strict fluid service intervals, encouraging proper driving habits, and utilizing premium replacement components are the most effective strategies to maximize the lifespan of your drivetrain. If your fleet is experiencing hard shifting or gear clash, do not wait for a catastrophic failure. Evaluate your drivetrain today and source high-quality, OEM-standard replacement components directly from HYGT to ensure your trucks stay on the road and out of the shop.
In a commercial truck that is driven correctly by a trained operator and maintained with scheduled fluid changes, a synchronizer assembly can easily last between 500,000 to 750,000 miles. However, aggressive float shifting errors or running the transmission with degraded fluid can destroy a brand-new hub in under 100,000 miles.
While mechanically possible to swap just the ring, it is highly discouraged by professional transmission rebuilders. The friction ring, the sliding sleeve, and the hub wear together over time as a perfectly matched set. Replacing just one piece creates tolerance stacking issues, which typically leads to continued gear grinding and premature failure shortly after the rebuild.
You must always use the exact transmission fluid specified by the manufacturer, which is usually a fully synthetic SAE 50 manual transmission fluid. Using standard GL-5 gear oils designed for rear differential axles is dangerous. They contain heavy extreme-pressure additives that chemically attack and corrode the softer brass components inside the synchronizer assembly.
While purely mechanical manual transmissions do not throw electronic fault codes for mechanical wear, automated manual transmissions (AMTs) will. You may see codes related to "Gear Engagement Failure," "Shift Actuator Timeout," or "Speed Sensor Plausibility." Mechanically, the physical signs remain the same: harsh metallic grinding, delayed gear engagement, and the transmission dropping into neutral under heavy load.
The cost varies heavily based on labor rates and the extent of secondary damage. While the synchronizer parts themselves might range from $300 to $800 depending on the gear set, the labor to drop, split, and rebuild a heavy-duty transmission typically takes 12 to 18 hours. Therefore, a complete professional repair usually ranges between $2,500 and $4,500. This makes early diagnosis incredibly vital to avoid damaging adjacent gears, which can double the repair cost.
Downshifting requires the synchronizer to physically accelerate a very heavy, rotating gear assembly to match the speed of the main shaft. This action requires significantly more friction and mechanical effort than upshifting. Experiencing a grind solely on downshifts is a textbook early warning sign that the synchronizer's internal friction material is just beginning to deplete and lose its gripping capability.


